Running Jekyll on Kestrel and ASP.NET Core
Jekyll is a big part of what we do at Ritter Insurance Marketing. The platform empowers our staff to write and publish content often. The adoption of Jekyll worked out well, and the GitHub hump has been much easier to overcome that initially anticipated. There are definite tradeoffs to using a static site generator like Jekyll, mainly the lack of anything dynamic. This post documents my journey in getting some dynamic behavior to my static site, basically running Jekyll on top of Kestrel and ASP.NET Core.
TL;DR; Go to my GitHub repository and follow the readme.
Why?
You may be asking yourself:
Khalid, why would you want to do this?
When you break down what Jekyll is, it is a generator (duh), which means I have to make all decisions up front before creating HTML. The approach works for the majority of sites, but there are a few things you cannot determine in advance:
- Authentication: Who is the user and do they have access?
- User Input: Allowing users to submit data to your site.
- Caching: Store pages in memory to increase performance.
- Middleware: Run any middleware to add needed behavior.
These are just a few additions I’ve thought about adding to a statically generated site. The dynamic functions may make up a small portion of the site, but they may be critical to achieving the experience I am aiming to create.
Step 1. Setup Jekyll
This post assumes a familiarity with Jekyll and that it is installed locally. I first start by creating a new Jekyll site.
$ jekyll new jekyll-aspnet-core
Step 2. Setup ASP.NET Core
The next step is to cd into the new Jekyll site directory and execute the following dotnet command.
$ cd jekyll-aspnet-core
$ dotnet new -t web
Now the directory is a mix of ASP.NET Core and Jekyll, but it is not ready yet.
Step 3. Setup Build Process
This is where the process gets tricky. The folder now has at least 4 build tools: dotnet, npm, jekyll, and gulp. I need to set them up to work together. The first step is to setup the Jekyll build configuration.
# Welcome to Jekyll!
#
# This config file is meant for settings that affect your whole blog, values
# which you are expected to set up once and rarely need to edit after that.
# For technical reasons, this file is *NOT* reloaded automatically when you use
# 'jekyll serve'. If you change this file, please restart the server process.

# Where things are
source:       .
destination : wwwroot

# Site settings
title: Your awesome title
email: your-email@domain.com
description: > # this means to ignore newlines until "baseurl:"
  Write an awesome description for your new site here. You can edit this
  line in _config.yml. It will appear in your document head meta (for
  Google search results) and in your feed.xml site description.
baseurl: "" # the subpath of your site, e.g. /blog
url: "http://yourdomain.com" # the base hostname & protocol for your site
twitter_username: jekyllrb
github_username:  jekyll

# Build settings
markdown: kramdown
exclude : [ "appsettings.json", "project.lock.json", "Program.cs", "Controllers", "node_modules", "package.json", "Startup.cs", "web.config", "project.json", "gulpfile.js", "GEMFILE", "bower.json", ".gitignore", ".bowerrc", "Gemfile.lock" ]
Notable configuration options are destination, which targets wwwroot created by ASP.NET Core. Secondly, the exclude array contains all the files and directory we don’t want going into wwwroot.
The next step is to remove our CSS building from gulp since Jekyll will handle building our SASS for us as part of its generation process. I also ensured I am creating the right files.
/// <binding Clean='clean' />
"use strict";

var gulp = require("gulp"),
    rimraf = require("rimraf"),
    concat = require("gulp-concat"),
    uglify = require("gulp-uglify");

var webroot = "./wwwroot/";

var paths = {
    js: "./js/**/*.js",
    minJs: webroot + "js/**/*.min.js",
    concatJsDest: webroot + "js/site.min.js"
};

gulp.task("clean:js", function (cb) {
    rimraf(paths.concatJsDest, cb);
});

gulp.task("clean", ["clean:js"]);

gulp.task("min:js", function () {
    return gulp.src([paths.js, "!" + paths.minJs], { base: "." })
        .pipe(concat(paths.concatJsDest))
        .pipe(uglify())
        .pipe(gulp.dest("."));
});

gulp.task("min", ["min:js"]);
gulp.task("default", ["min"]);
Finally, I need to tell our dotnet-cli to run both jekyll build and gulp. The following is from the scripts section of project.json.
"scripts": {
  "postcompile": ["jekyll build", "npm install", "gulp" ],
  "prepublish": [ "npm install", "bower install", "bundle install", "jekyll build", "gulp clean", "gulp min" ],
  "postpublish": [ "dotnet publish-iis --publish-folder %publish:OutputPath% --framework %publish:FullTargetFramework%" ]
}
Step 4. Updating ASP.NET Core Configuration
I am building now, but still need to tell ASP.NET Core to serve both static files and default files like index.html. In Startup.cs I add the following two lines, followed by the registration of ASP.NET MVC.
app.UseDefaultFiles(); // serve index.html
app.UseStaticFiles();    // serve static files
app.UseMvc(routes =>
{
    routes.MapRoute(
        name: "default",
        template: "{controller}/{action=Index}/{id?}");
});
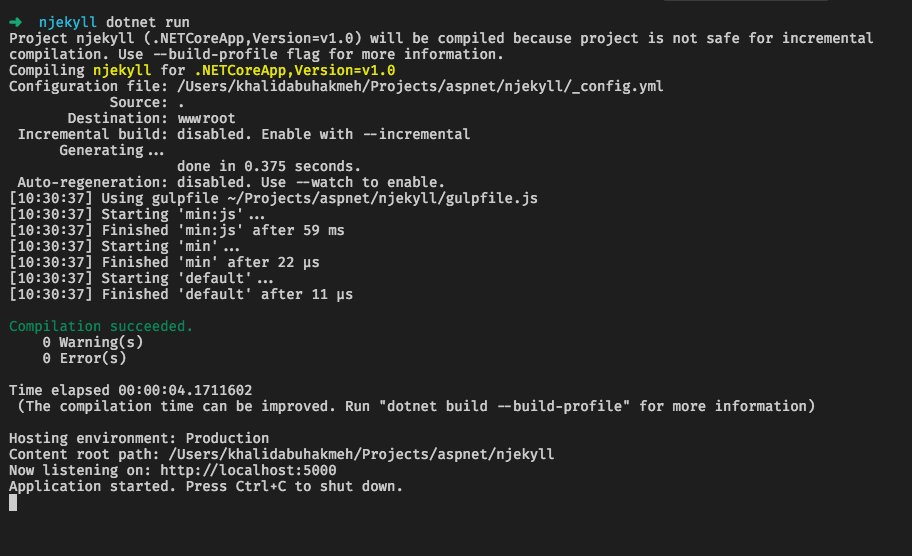
Step 5. Run Jekyll Run
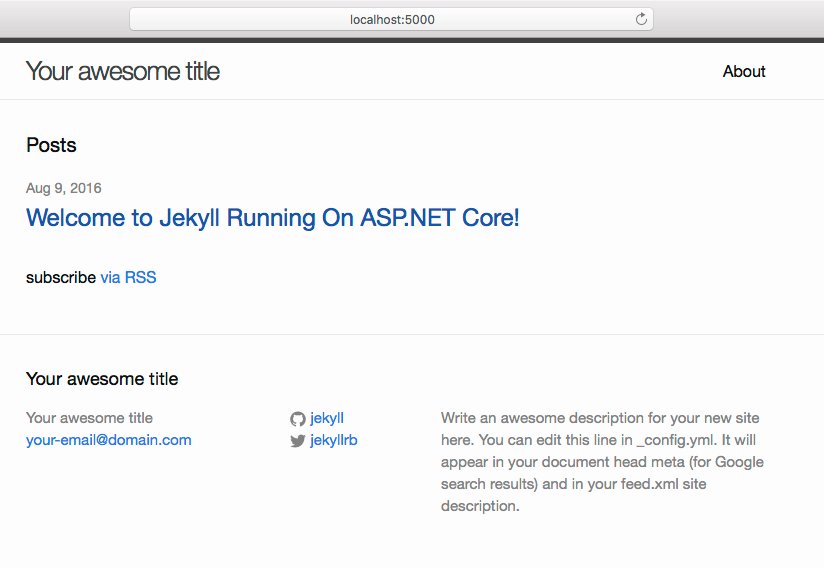
Now we can just run dotnet run. Building the solution starts serving Jekyll from Kestrel.
 {: .img-fluid}
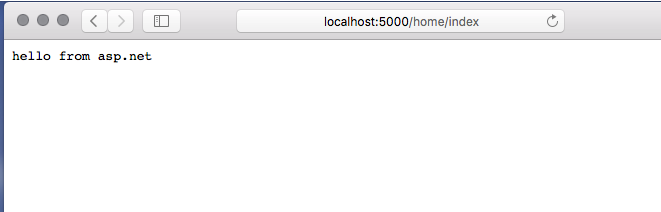
See the site running. In my example, I have a test controller that returns a simple content result.
 {: .img-fluid}
 {: .img-fluid}
If you want a working sample, go to the GitHub repository and try it out.
Conclusion
Most sites can operate as static sites, but there will always be a need for dynamic content along the way. The introduction of ASP.NET Core and Kestrel are compelling reasons to embrace a cross-platform solution that uses the best of static and dynamic technology.