Leveraging Metadata with Google Tag Manager
Our APIs expose data to Ritter’s quote engines based on product, marketplace, and url. As a leading FMO (Field Marketing Organization), our agents use these products and urls to service their clients.
How can we better leverage the resulting aggregation of data?
Metadata
Metadata will provide us with richer metrics, and a means to see how our users are consuming the data.
<meta name="ritter" content="Ritter Insurance Marketing LLC" />
<meta name="ritter:agent" content="[name]" />
<meta name="ritter:agency" content="[agency]" />
<meta name="ritter:displaylicense" content="[license]" />
<meta name="ritter:npn" content="[npn]" />
<meta name="ritter:email" content="[email]" />
<meta name="ritter:phone" content="[phone]" />
<meta name="ritter:zipCode" content="[zipcode]" />
<meta name="ritter:state" content="[state]" />
<meta name="ritter:county" content="[county]" />
<meta name="ritter:fipsCode" content="[fipscode]" />
Google Tag Manager
New to GTM (Google Tag Manager)? We’re going to assume you have an existing container for your Tags.
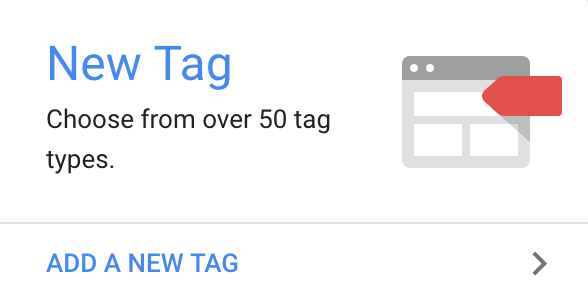
1. Add a new GTM tag
 {: .ui.medium.bordered.image}
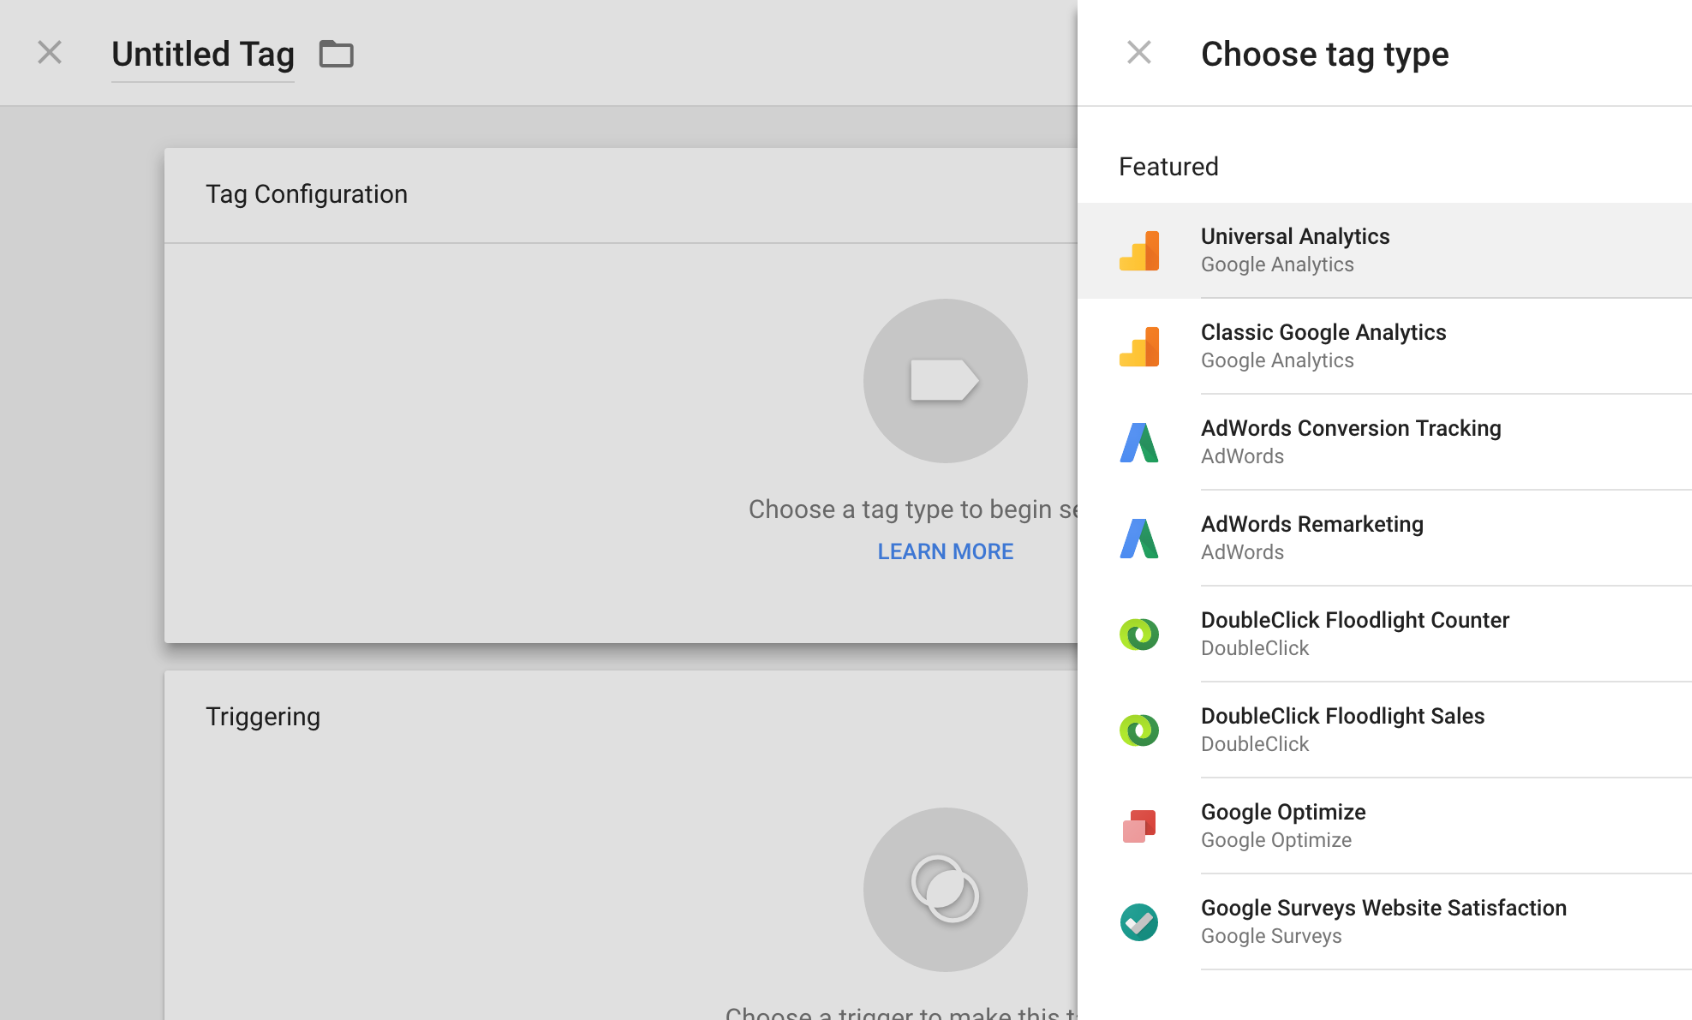
2. Configure your GTM tag for Universal Analytics
 {: .ui.fluid.bordered.image}
3. Add your Google Tracking ID
![]() {: .ui.medium.bordered.image}
{: .ui.medium.bordered.image}
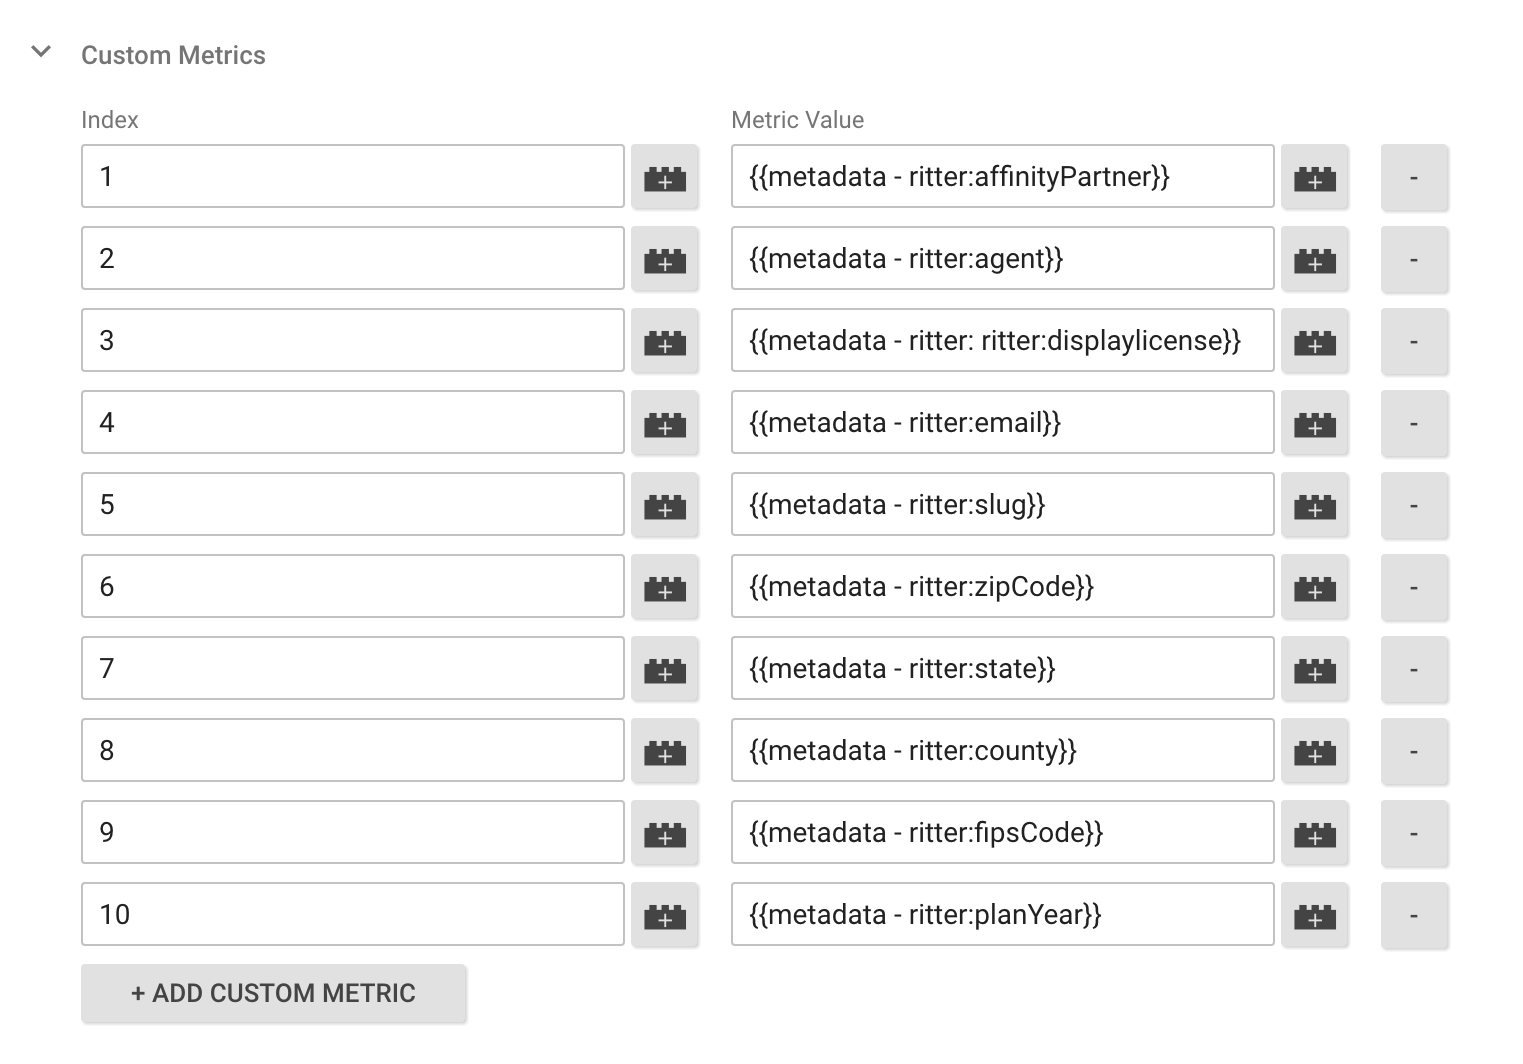
4. Custom metrics
 {: .ui.fluid.bordered.image}
5. Choose your trigger & publish
Set the trigger for your tag and you’re ready to publish. Once published, your new metadata will propagate in Google Analytics.